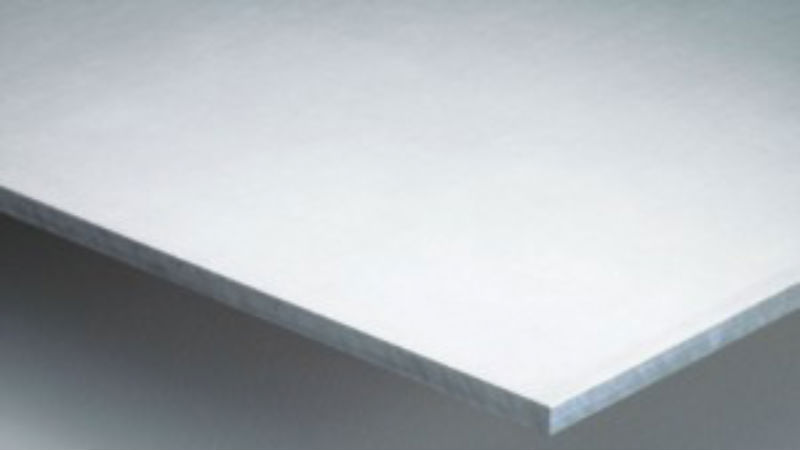
In many retail outlets, hardware stores, garages and even in homes and workshops you will find slatwall panels as a practical and efficient option to make a wall look great and also provide a wide range of different storage options for items.
Aluminum slatwall panels come in a mill finish, which is a matte type of brushed finish just as the aluminum is processed through the mills. There is also the option to have a polished finished or even powder coat the aluminum to coordinate with the design and décor. This last option is most typically found in retail outlets while the mill finish is more common in workshops, hardware stores or even in home garages.
What you Need
To install slatwall panels, there will be a minimum number of tools and items you need. Most slatwall is sold in 8-foot lengths with widths of 4 feet, so if you want to avoid cutting simply set the area to coordinate with multiples of those dimensions.
However, you can cut the aluminum with a table saw or a circular saw with the appropriate blade for cutting aluminum. Additionally, a power drill and screwdriver will make fast work of attaching the slatwall panels to the wall.
Finding the Studs
While the slatwall panels are not heavy themselves, once shelving, brackets or other displays are added, plus items, the weight pulling forward on the panels can be significant. It will be essential to ensure you are using the correct types of screws and attaching directly into the studs, either wood or metal, to support the weight of the panels and items.
It is essential to make sure the first panel added to the wall is completely levels and squared to the space. Any irregularity in the placement of this first panel will be compounded as the next panel is placed on top. It is also important to work from the floor to the ceiling and not the other way for easy positioning of the next panel.
Be sure to secure the slatwall panels on every stud using the correct screws. This is not a place to scrimp on securing the panels to the wall. After the panels are in place and secured display hooks, bars and shelving simply clip into the slots on the panels, creating an easy to adjust storage for anything you need.


